You’ve probably watched other business owners attract great leads with videos filmed on their smartphones. Or, you know of influencers who generate six and seven figures annually on social media videos alone. (If you don’t, ask your daughter who David Dobrik and Charli D’Amelio are.)
Maybe you want to see similar success yourself and learn how to make YouTube videos on your phone, but you think it’s too complex, or you’re hesitant to put your business’s face out there (especially if it’s your own face). Or, maybe you record occasionally, but you want to optimize your production value and don’t know how.
Consider this your sign to ignore the hesitations and just do it.
Why Make a YouTube Video on Your Phone?
It’s never been easier (or less expensive) to get your business’s message out. Hiring a high-end video company can be pricey, but modern smartphones — the same ones we use every day — can record HD and 4K video for free. Best of all, basic videography is relatively easy to learn.
It’s also extremely time-efficient to make a video on your phone. You can batch record an entire month’s worth of content in one afternoon — just change your shirt every video or two, and it’ll look like a different day of shooting.
Social media algorithms won’t discriminate against you because you don’t have the latest Canon. In fact, algorithms promote videos filmed on smartphones, especially when you use their apps (Instagram, Facebook, TikTok, etc.) to edit content.
Algorithms also promote users that post consistently. In today’s video world, quantity is better than quality.
That’s why the best time to start is right now. Remember that your first videos will be your worst videos, and that the process is gradual. It’ll take time for you to get comfortable on camera and determine where specifically to shoot your videos and at what time of day. You don’t have to be great to start, but you have to start to be great. (Thanks, Zig Ziglar!)
Below is a very basic, industry-standard guide on how to make a YouTube video on your phone (or a TikTok video, or an Instagram video… you get the idea). Consider it “iPhone videography 101,” instruction which will work for 80% of people 80% of the time.

How to Make a YouTube Video on Your Phone
The order of the following step-by-step guide is intentional. Adjust each feature as it’s listed, and you’ll end up with the highest-quality product.
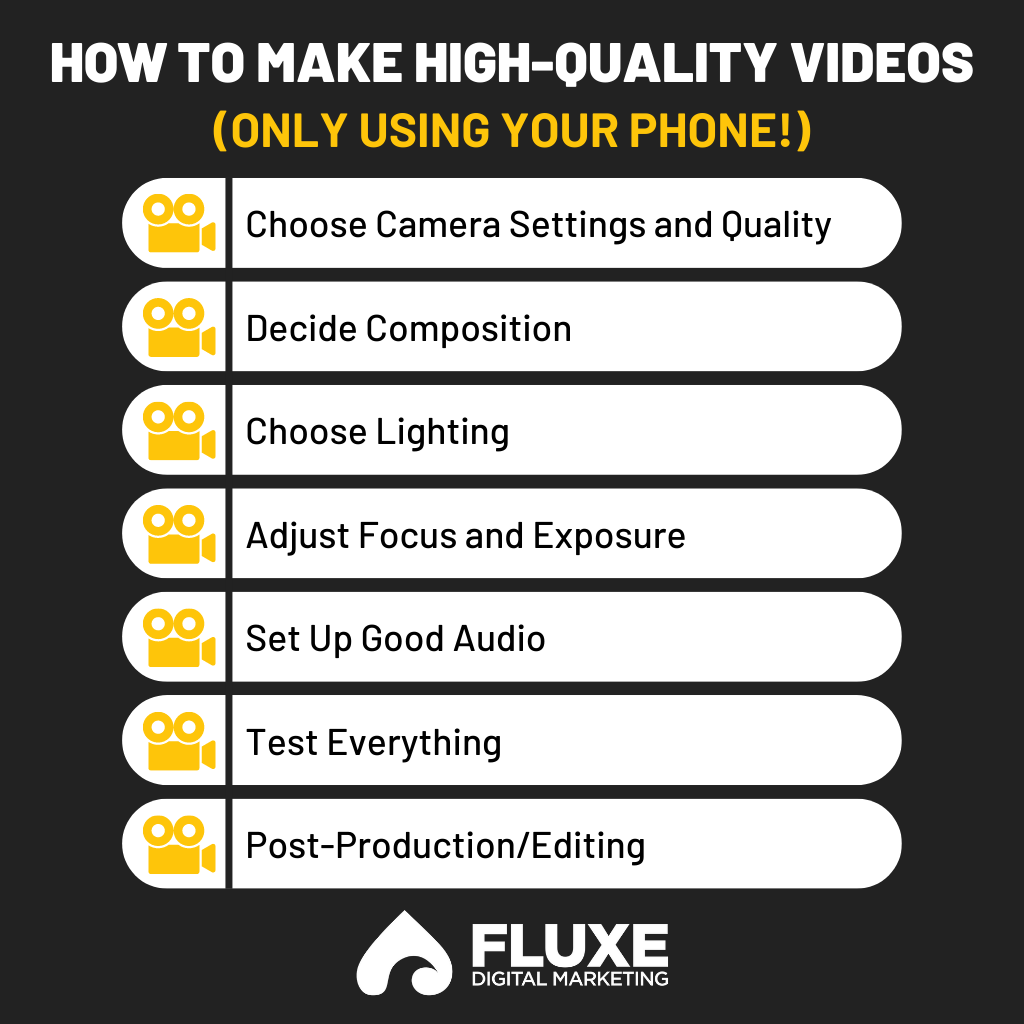
Here’s how to make a YouTube video on your phone:
1. Camera Settings and Quality
Resolution
Full HD, also known as 1080p, also known as 1920×1080, is a great resolution for social media. Facebook, Instagram, and LinkedIn automatically downscale/compress videos to 1080p anyway, so shooting with this resolution retains all your data.
Alternatively, you can use 4K if you want crystal-clear quality for YouTube or if you know you want to repurpose vertical snippets from a horizontal video. Videos shot in 4K take much longer to upload, but it’s worthwhile for the freedom you get on the editing side.
If you’re an intermediate video editor, you can shoot a medium shot in 4K, crop in 150%, and create two unique shots from the initial one. However, if you’re a novice just learning how to make YouTube videos on your phone, this isn’t something you need to worry about.
Frame Rate
Thirty frames per second (fps) is the standard frame rate for social media. Twenty-four fps can look choppy on Instagram but can work well on YouTube and Facebook; only go this route if you’re confident you want a more cinematic, filmlike look.
2. Composition
First, decide whether the video will be horizontal or vertical. Generally, short, vertical videos (reels) perform best and get the most organic reach on all platforms. These should be shot in medium (waist and above) or close-up (top of shoulders and above). Longer videos should be filmed in widescreen.
For a wide shot, place the subject(s) in the center of the frame with their eyeline roughly one-third of the way from the top of the frame. Use the aspect ratio guide on your smartphone for reference. A small amount of “headroom” (space between the top of a subject’s head and the top of the frame) is good, but not too much.


For vertical, the same rules apply. Instagram and TikTok will slightly “zoom videos in” once clicked on, so leave a little bit of safety room on all sides.
When it comes to background, frame your subject by placing objects related to your content, brand, and/or video around them (e.g., for a doctor’s office, use medical books, nice plants, furniture, etc.). The background shouldn’t be too “busy,” but it should be filled enough to create the appearance of a natural environment.
3. Lighting
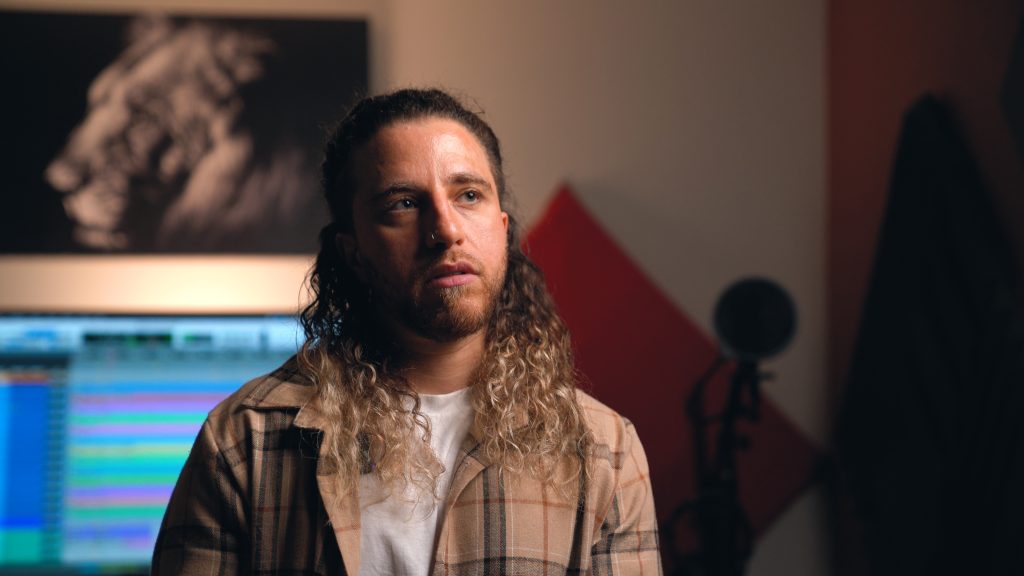
Overhead/office lighting alone can cast unflattering shadows. Your forehead and hair will appear to stick out farther than your eyes, and the resulting shadow gives you what we in the industry call “raccoon eyes,” which look exactly how they sound.
You can absolutely use the lights in your office — it’s always great to use what you have at your disposal — but you need other lights to accentuate and add shaping. Otherwise, you may look sickly and flat.
Color Temperature
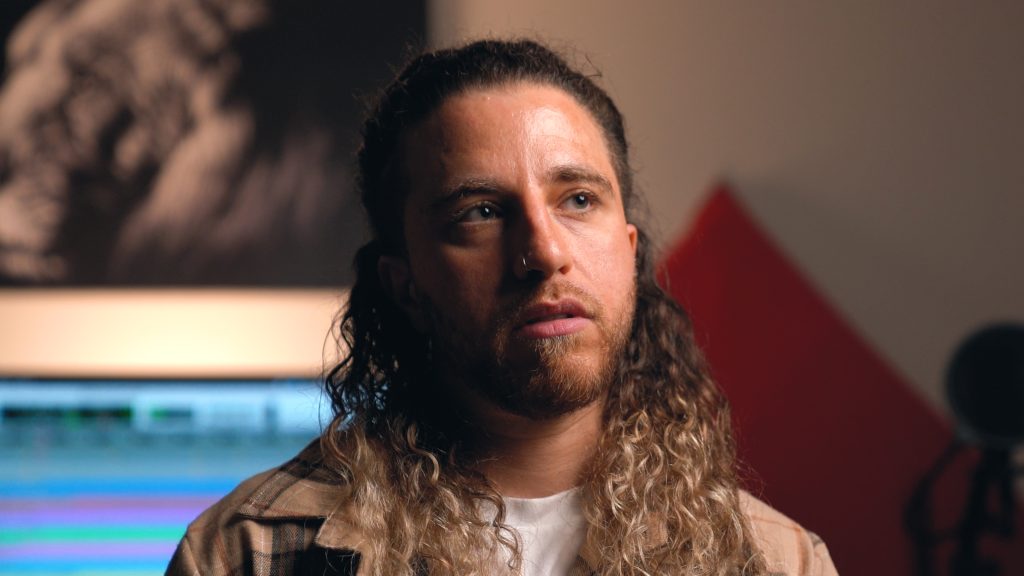
One color temperature is not better than the other — it just depends on your subject matter. White light/daylight (5500K) creates a clean, bright look, which is fitting for an office. Warm/orange light (3200K) is moodier and more artistic.
Also, consider that different color temperatures and brightnesses work better on different skin tones. A bright white light makes a pale person look washed out, while dark skin tones appear mustardy under orange lights.
For solo interviews, 4300K creates a nice, balanced look. That warm-but-not-too-warm temperature works great for most skin tones.
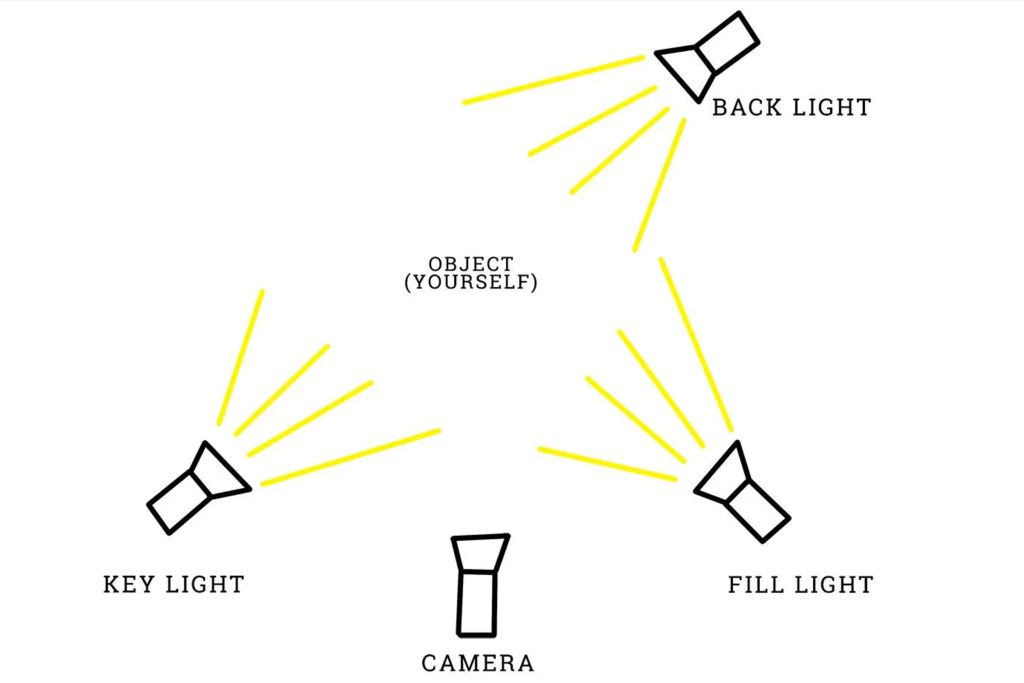
Key Light
This is the only light you’ll always need to have on hand (unless you’re purposefully only backlighting your subject).
If you’re filming a single subject, hang one light above and in front of them at a 45-degree angle (relative to the subject). This will add more contour to their face and make the frame look less flat.
For more than one subject, use two lights on either side of the frame that hit everyone at a similar angle. All subjects should be evenly lit.
If your budget is more restrictive, your key light doesn’t have to be a powered light — you can use a large window or glass door.
Hair Light/Back Light
Hang a light above and behind your subject(s), on the opposite side of your key light, that shines on their hair and makes them “pop off” the background. Or, put a light (out of view of the frame) on the floor behind them facing their back(s).
Practical Light
Consider using natural or “motivated” light sources around or behind your subject; in other words, use light sources that would commonly be found in the environment (e.g., a lamp, neon sign, computer screen, light shining on an important object/secondary focus, etc.).
Fill Light (if Needed)
A fill light “fills in” any spots that are too dark or shadowy. It’s less powerful than key light and not always needed. This could just be your overhead or house lights.
4. Focus and Exposure
Focus and exposure are two different elements that often need to be adjusted at the same time.
Typically, the automatic settings on your phone’s camera cover the ideal focus and exposure. Leave these alone, except when:
- The scene looks flat, with little attention drawn to the subject. If so, move the subject forward from the background to create more depth.
- The smartphone struggles to autofocus. In that case, manually set the focus to your subject’s eyes, or adjust the intensity of your lights until the camera’s autofocus catches their face.
5. Audio
This is one of the most important elements of video making. People will watch a bad video with good audio, but not a good video with bad audio.
When it comes to making a YouTube video with your phone, audio is paramount. Your smartphone’s microphone is decent quality, but being far away or in a space with excessive echoing makes the audio sound “noisy” and muffled. It’s best to invest in other equipment.
AirPods make for great audio, but they can get pricey. You can find tons of low-cost, professional-quality lavalier microphones online that plug straight into your smartphone. Attach one of these to a collar, button, or pocket for clearer sound, and make sure it’s not rubbing against anything to create excess noise.
When recording, make sure the loudest portions of dialogue don’t exceed between -12 and -6 decibels (dB). Thankfully, iPhones manage audio automatically, but if you’re using different equipment, you need to check this. You can usually adjust low audio levels with post-production plug-ins, but it’s nearly impossible to fix audio that’s peaking/clipping.
6. Test Everything
Record yourself talking through the intro of your video (about 30 seconds) and watch the test video with audio on your phone. It’s also a good idea to airdrop that test video to a larger screen, such as a laptop. The bigger the screen you use to observe pixels, the easier it is to identify anything that needs adjusting.
Go back through this list and make any necessary changes. Video production is a fluid process. If you think the lighting and audio composition need to be changed, do so, then film another test video.
I’ve never regretted taking an extra 20 minutes to tweak something on set, even if it meant I had to start filming late. Instead of thinking you’ll fix a mediocre shot in editing, I say get it right in-camera and save a ton of time during post-production.
Take your time, and let your phone’s camera do the work for you.
7. Post-Production/Editing
There are hard-and-fast rules on what colors elicit what emotions, but barring those, this step is more subjective and fun than the previous six.
Duplicate your video to preserve the original while trying different looks — one bright and clean, one moody and contrast-rich, etc. The look you go with depends on how you want your brand to appear to your audience. Post-production is an opportunity to have fun and develop a unique-looking asset.
That said, it’s easy to get carried away in post-production, and if you don’t know what you’re doing, you can ruin your video. Have fun, but be careful.
You can edit your video directly in your social media app of choice. There’s also a ton of free editing software out there — I like iMovie and Premiere Rush — and cheap AI options like Vidyo and Pictory. Even if you need to pay for editing software, that’s much cheaper than hiring some millennial with a fancy camera.
If you don’t have time to play around with editing, the auto-adjust feature in the Photos app gets the job done pretty well most of the time.
How to Make a YouTube Video on Your Smartphone: Final Thoughts
If you’ve read this checklist, you’re already ahead of 70% of creators. Now that you know how to make a YouTube video on your phone, there’s nothing holding you back — except self-criticism.
If you’re anything like me, you’re your own harshest critic, especially when it comes to creative endeavors. You watch yourself on camera and think, “I hate the pacing of my words!” or “My makeup looks horrible!”
Most people won’t notice little things like that — especially if you’re just starting out and your audience is small.
Your videos will improve as you go, which means you’re holding yourself back by not starting. In a world where quantity dominates quality, you just need to start creating. It’s that simple.